As you may or may not know, EA is planning on launching Mass Effect 3 copies into space starting tomorrow. Their journey can be tracked on their official website until it makes landfall. Rules regarding how to snag a copy before release will be posted soon. Until then, I’ll be working on my omniblade.

From the official website:

To celebrate Commander Shepard’s war to take Earth back, Mass Effect 3 will be the first console game launched into Earth’s upper atmosphere on a historic voyage. And you have a chance to take home a piece of that history.

Starting February 23rd, various cities across the globe will host their very own Space Edition launches. Starting with San Francisco, CA and ending in Berlin, Germany.

Track the packages on their flights and be the first to arrive at the landing zone to win an early copy of Mass Effect that has survived space travel. Each Space Edition also comes with an on-of-a-kind fan prize package. Other prizes will also be given out to runner-up participants (subject to availability).

Check back soon for rules and contest entry.

The launch dates are as follows:

San Francisco: February 23 – 7:00 AM & 10:00 AM

Las Vegas: February 24 – 7:00 AM & 9:00 AM

New York: February 25 – 7:00 AM & 9:00 AM

London: February 27 – TBD

Paris: February 28 – TBD

Berlin: February 29 – TBD

Can anyone help me calculate trajectories?

I don’t know about you, but my American Nightmare would be nothing but reality TV to watch and having to deal with a shitty economy. Wait, that’s already happening! Then I guess Alan Wake has it easy in the latest game in the series: “American Nightmare”.

If you haven’t finished the last Alan Wake DLC, “The Writer”, yet, you might want to before jumping into American Nightmare. I am sure you can play through without having played the DLC, but a lot of the context surrounding what’s going on will be lost on you. Since, to me, Alan Wake has been more about the story than the gameplay, this is a big deal. What surprised me when starting up American Nightmare was being greeted by live action video. It made me wish that the whole game could be played out as an FMV adventure game with how well the production value was on this.

The combat seems to be more fluid than it has been in the previous Alan Wake games which is offset by the amount of ammo given to you. I was never found wanting for ammo at all through the entire story mode. Everywhere you turn, there’s ammo. Just in case you can’t find the big flashy objects that your firearm desires, there are regenerating ammo and battery caches scattered throughout levels.

And although this time around there are new weapons to decimate the Taken, you are better off sticking to the sub-machine gun and shotgun combo. One thing I would have loved to be included while mixing it up with enemies is some sort of indication that I was about to get attacked from behind. I got overwhelmed a lot due to the sneaky bastards getting the drop on me. A subtle audio cue would be sufficient enough for me. Instead, I just mash on the dodge button and float like a butterfly while trying to unload buckshot into my pursuers.

Manuscripts play a bigger role in American Nightmare due to fleshing out the story even more for us story whores and being sort of a currency to unlock weapon cases for more powerful weapons. Finding the manuscripts are dead simple for the most part. Between the mini-map showing you a question mark when you are near one and the blinding light that emanates from the pages like it’s trying to send an S.O.S. to you, no one should have trouble exploring to find the manuscripts. I really, really suggest you find at least 40 manuscripts to get what I feel is THE best weapon in the game, besides light of course. The combat shotgun is essentially the AA-12 (Watch this for a brief primer on why this shotgun is amazing) and when I combined the flares with this magnificent beast, I felt unstoppable.

If you could care less about the story of Alan Wake: American Nightmare and more about shredding the Taken, arcade mode is for you, my good sir/madam. Pick a map, start the 10 minute timer and prepare to survive. With limited ammo for your bigger weapons, strategy plays an enormous role if you want to make it to sunrise as well as getting a reputable score on the leaderboards. The waves of enemies are endless. And the round finishes when you either die or make it the full 10 minutes.

I found it helpful to run around early and grab all of the ammo you can and then save the flashbangs and flare gun for the bigger threats as the waves increase in intensity. When in doubt, just run for your life until the timer runs out if you’re near the end. You won’t get those extra points for killing but at least you’ll survive with your life! More maps are unlocked as you progress through them and the later nightmare mode maps will definitely test just how well you handle the combat mechanics.

As a fan of the Alan Wake story, American Nightmare seemed to hit all of the right buttons for me. The dynamic of Alan Wake and Mr. Scratch plays so well that I was able to let go of the hangup that I had with a certain plot device in the game that I won’t spoil here but would probably be no sweat for Bill Murray. If you were one of many who wanted more Alan Wake, then there is no question that you’ll need to play this. Anyone else should play the main Alan Wake first or at least catch up on the story using the wiki or Youtube videos (although you will miss out on the atmosphere that Alan Wake brings to your senses when actually experiencing it for yourself)!

This week, we continue with the Equipment Series with the Gravity Lift and the Power Drainer.


GRAV LIFT(Duration – 30 Seconds)


Tip #1 – MAXIMUM OVERDRIVE

The Gravity Lift is a lifesaver of many flavors. One of its flavors tastes like the ability to divert a fast-moving vehicle before it’s too late.

When being pursued by an enemy vehicle you can quickly use the gravity lift to make the enemy fly over your head as if they were a banshee. This will leave your opponent feeling like they’ve just been roofied, which gives you plenty of chance to take advantage of their vulnerability. Fire away my friend. Fire away. We regret that refererence wholeheartedly.


Obviously, this tactic will only work with vehicles that don’t already fly. Once used, you turn what someone thought was going to be a hit-n-run into a fly-n-die.


Tip #2 – THE TRAP

The Gravity Lift may also do trap and disorient an enemy on foot. iIn order to either trap them or throw off their accuracy, here’s what to do:

When you’re in a room with a low ceiling and an enemy is heading towards you, quickly deploy a Grav Lift and soon enough you’ll see your very own Marry-Poppins. Kill Marry Poppins.

This also works outside, as a Grav Lift is unexpected from your enemy as a defensive tactic and it will throw off their accuracy during a chase or a battle.

If you are ever dumb enough to be caught in these traps, simply use a grenade to destroy the Grav Lift. Throw it down and it should be taken care of.

Note: Use a Frag Grenade. Using a Plasma Grenade is very risky, because many have been known to just give themselves homemade, ‘splodin butt plugs.


Tip #3 – GET ‘EM HIGH

So obviously the Grav Lift can lift you to higher places and get to mom’s cookie jar. Also, try using the Grav Lift to get a vehicle to a higher area to reach a goal or a shooting spot.


Doing this with a vehicle does take a higher level of skill, so if you are under intense heat just use the lift for a getaway – or use it to find a better sniping position that you wouldn’t normally be able to get to.


Power Drainer (8 to 10 Seconds)

Tip # 4 – I’VE GOT THE POWER!

Ah, the Power Drainer. How Annoying is this weapon? This isn’t something you want to become friends with unless you are the perfected user. It takes out an enemys shield just about instantly so fire away at them or use a combination of a grenade so that the life-sucking aura around the drainer is destroyed as well as the enemy. Be careful not to get caught in it yourself – otherwise you may end up the person with the life sucked out of you. Insert ex-girlfriend joke here.


Tip #5 – PEE ON EVERYTHING THAT’S YOURS

You can also use the Power Drain to mark your territory. If you want to get to a certain spot, but can’t do so before some of your enemies. Set up a Power Drainer so that if they want to get to it, they’ll have to deal with metal through their skulls.

Let’s say you’re gunnin’ for a brand new Sniper Rifle: throw a Power Drain in the direction of the weapon to divert the opponent away from it. Throw a grenade at the Drainer to destroy it instantly and then gingerly walk over and grab your prize.


Tip #6 – DRAIN YOU

Furthermore, the Power drainer is superbly effective against all vehicles. It stops them for five seconds as well as taking away your enemy’s shield. So as soon as you disable a vehicle with a Power Drainer you should fire away at the vehicle. You may then make your getaway in their vehicle and go off to kill some bitches. See? Who needs GTA IV?

Warning: the weapons system still works on vehicles even when they are disable by a Power Drainer, so make sure those using the weapons on the vehicles (for example, the guy using the turret on a Warthog) are taken out first because obviously the driver isnt going anywhere.


Things to Remember:

1. The Grav Lift can be used for more than just getting high. To high. Places. You know.

2. The Grav Lift can divert all ground-based vehicles, but that doesn’t mean you can challenge tank with a Grav Lift. Unless you’re having a bad day. If that’s the case, go for it, Champ.

3. The Power Drainer stops any vehicle and makes anyone an easy target, including you.

4. The explosion that follows the Power Drainer’s release can kill. Watch it.

5. Use the Power Drain to mark your territory, or to set up a mini holocaust.


This week’s Teabag Prevention article was written by:


This week’s Teabag Prevention article, as always, was edited by:


For any comments, suggestions, or inquiries please email us at:

TeabagPrevention@gmail.com

And don’t forget to add us on myspace at:

www.myspace.com/teabag_prevention

Setting your mind close to seven years ago can be a tough thing to do. You may have been a God at Halo: Combat Evolved, but are you a God at Halo 3? We here at Teabag Prevention believe it is our duty to help you walk on water again in this gift that the Bungie team is giving us on this very sunny and glorious Bungie Day – the reimagining of the Halo: Combat Evolved map Chill Out.

Back in the LAN party days, gamers were able to play without the lag, actually talk face to face, and sharing a tv was a must. Chill Out is a pretty small map which is recomended by bungie to be played by 2-8 players. “Screen-cheaters” would have had it easy.

Fast-forward to July 7, 2008. Have things changed? Xbox Live brings on a new generation and a new way of playing. The map may be similar, but will the startegys stay the same?

THIS BUNGIE DAY: HOW TO NAVIGATE COLD STORAGE

Tip #1- Know Thy Surroundings

If you’re not careful, it’s pretty easy to get lost in Cold Storage during your first games. Use distinct landmarks such as: teleporters, weapon spawns, and places around the map that catch your attention. A few things that WILL catch your attention are:


Tip #2 – The Spawns

For instance, if you remember Chill Out fairly well, then you’ll be happy to hear that the Overshield, Active Camo, Rocket, Frag Grenade, Plasma Grenade, Shotgun, Plasma Rifle, and Assualt Rifle kept their spawning locations. New to the roster are the Equipment spawns and the Battle Rifle spawn.

The Needler is located on the oppisite platform as it would be on Chill Out. Not a major difference, but one that can decide life or death.


The Bubble Shield is located just above the center of the map.


The Regenerator is found just below the Plasma Rifle spawn.


The Power Drainer can be picked up not too far from the Frag Grenade spawn by the Flood in the tube.


The Battle Rifle spawn can be found a few paces south (toawrd the center of the map) of the Bubble Shield spawn.


The Overshield is located not too far from the Shotgun spawn.


The Active Camo is located in the same room as the Sniper Rifle.


Tip #3 – Use that Needler!

Since Cold Storage is a fairly small map, using a Needler can be key to being on top of the scoreboard. There is a hallway leading up to the needler spawn point that can be used as cover from enemies below.

Be weary of greades for they are deadly in close quarters. If they don’t know you’re up there, and you’re sitting up there giving deadly pika-boo to your enemies, you have full rights to laugh your ass off at them.


Tip #4 – Teleporters

You may end up behind one or more unsuspecting enemies if you use the teleporters correctly. An example of using the teleporter system strategically would be using the teleporter behind the Plasma Rifle spawn. This puts you in the same location as the Active Camo and the Sniper Rifle.

Just try to make sure no one else is waiting on the other side. Only then will your plans for slaughter be successful.


Tip #5 – Cheek to Cheek

Cold Storage is a close-quarter map. The Sniper Rifle should not be used frequently unless you’re decent at no-scoping (see Teabag Prevention article #1). Weapons such as Rockets and Shotguns fit the map perfectly.

During a Free-For-All match, getting to the Rocket Laucher first can be key at achieving victory – at first.

Shotguns play an important role too. They kill at close range, are the easiest weapon to use in the game, and they disable an enemy’s shield with one shot. If you’re going up against someone with a Battle Rifle or Assualt Rifle, you should be able to win – if you’re close enough.

If you can’t get your hands on these weapons, it might be best to just stick to your Assault Rifle. Use Equipment to change the field of battle also. There are many ways of going into battle, but there are many mistakes. Here’s one:


Equipment can be very dangerous here, because the map is so close-quarters that you may very well use them against yourself accidentally. Be careful of this, Happy Bungie Day, and have fun!

Things to Remember:

  • You WILL lose if you don’t utilize your sorroundings.
  • Close-quarter combat is a must. Equip the necessary weapons.
  • Equipment can change the field of battle.
  • Know your weapon spawns.


This special edition of Teabag Prevention was written by:


This special edition of Teabag Prevention as always, was edited by:


For any comments, suggestions, or inquiries please email us at:

TeabagPrevention@gmail.com

And don’t forget to add us on myspace at:

www.myspace.com/teabag_prevention 

Also, join our new Facebook Group!


Happy Fourth of July, Scapists. We never rest here at Teabag Prevention because neither does the enemy. We’ve decided that a lot of you probably don’t go outside for anything, even if your parents tell you to. You’re rebels like that. So we’ve been kind enough to make this second part of the Equipment Mini-Series explosion-based to commemorate our country’s independence, happiness, and affinity for exploding the other team.


THIS WEEK: THE TRIP MINE (85 Seconds it detonates if not already exploded)

Tip #1 – HAVE A NICE MINE!

The trip mine is the only Equipment item that directly kills opponents or vehicles. So take extreme advantage of this and also be very wary of its capabilites. When you hear a beeping and see an orange light, pay attention and be more attentive – you’ve got some ‘splodin to do. When playing in teams, always make sure to let your teammates know that it is around – otherwise you may get an accidental triple betrayal. There’s no achievement for that, no matter how cool it sounds.


Tip #2 I’LL TENDERIZE ‘IM!!!

When in a situation tighter than your sister’s jacket, the mine can take out enemy vehicles instantly. The vehicles might need a little tenderizing first, but once you lay that mine, a kill is in reach. Be sure to stay away from the vehicle, when doing this, because even though the blast should kill it and its passenger, you may also get caught up in that explosion.

TIP #3 DO IT AROUND PEOPLE

The Trip Mine can also be used to your best advantage in Flag/Bomb/or Big Team Battle games. Here’s how: plant your Trip Mine right at the base of your Flag or Bomb and make it so that an unsuspecting enemy goes for the victory Flag journey or for the Bomb arming and he ends up getting ‘sploded instead. That’s right. ‘Sploded

TIP #4 LISTEN ALL Y’ALL IT’S A SABOTAGE!

In Big Team Battle maps such as Valhalla you can sabotage the vehicles, or even items, using Trip Mines before anyone ever gets to them. You’re setting a booby trap. We said trap.

Here’s one: throw the Trip Mine under a vehicle so that the beeping and orange light are muffled and relatively unnoticeable. Once someone turns on the engine, it doesnt purr anymore. It will ‘splode

TIP #5 EXPLODE FROM WHEREST YOU CAME, MONSTER!

The simplest option with the Trip Mine is to lay the mine exactly where it is spawned. Anyone in a rush, at the beginning of a match, trying to go around the map picking up their favorite weapons before going out and Slaying might accidentally pick it up and do some ‘splodin. You’re really counting on someone’s stupidity here. Luckily, it won’t let you down.

TIP #6 BUBBLE TRAP
Combine the Trip Mine with a Bubble Shield. Here are two ways in which this can be effective:

1. When someone is in it just throw a mine during battle or while they are chasing you and it’ll explode with the full force of the Lord inside the Shield while you are perfectly unharmed. Just like in last week when we combined grenades and bubble shields.

2. Smarten up and in a congested battle situation, where most people will be running around like headless chickens and looking for safety from vehicles or crossfire, lay down your Trip Mine in a deployed Bubble Shield. Someone is bound to need the cover and accidentally step into their own private Michael Bay-level explosion. Warning: make sure you, or your teammates, don’t need the cover first.

TIP #7 NOT SO HARD TO KILL

 Now that you know exactly how gruesome, how dangerous, and how unbelievably risky laying down this important and amazing piece of equipment is you’re probably thinking “it’s too powerful…it’ll become sentient…it’ll destroy us all!” Well, don’t worry my Skynet fearing friend, you can destroy a trip mine by doing the following:

1. Shooting it a little bit.

2. Throwing a grenade at it.

3. Convincing a suicidal Spartan that it’s a good idea.

Note: You may also use these ways to kill (and therefore detonate) the Trip Mine to set traps from afar. When someone is near it and thinks they are safe, you may be on the other side of the map, waiting to shoot it and detonate their face. You may also use this trick with vehicles.


Things to Remember

1. Trip Mines take a very long time to detonate unless tripped – 85 seconds to be exact.

2. These things force you to be smart. Set traps, don’t throw them around yourself or you’ll seem more suicidal than Sean Kingston.

3. Make the Trip Mine’s disadvantages your advantages. Kind of like when you’re in a relationship.


Please tune in Next Week for the end of the Three-Part Equipment Mini-Series where we finish you off…er…give you tips on Grav Lifts and Power Drains. Same Bag time, Same Bag channel. Now go to your barbeque and tell girls that don’t care what you’ve learned today.

This week’s Teabag Prevention article was written by:


This week’s Teabag Prevention article, as always, was edited by:


For any comments, suggestions, or inquiries please email us at:

TeabagPrevention@gmail.com

And don’t forget to add us on myspace at:

www.myspace.com/teabag_prevention


In the months before Halo 3’s beta release, the mysterious “X button” fuction plagued the interwebs. Ridiculous rumors were spread far and wide. Once it was even believed that its function was to steal an oppenent’s weapon while it was attached to their back.

Then, we were told that this new function would change the way Halo is played. This left many wondering if a 3rd person camera view was open to a push of a button. After videos of leaked footage emerged, we soon found out what the answer was.

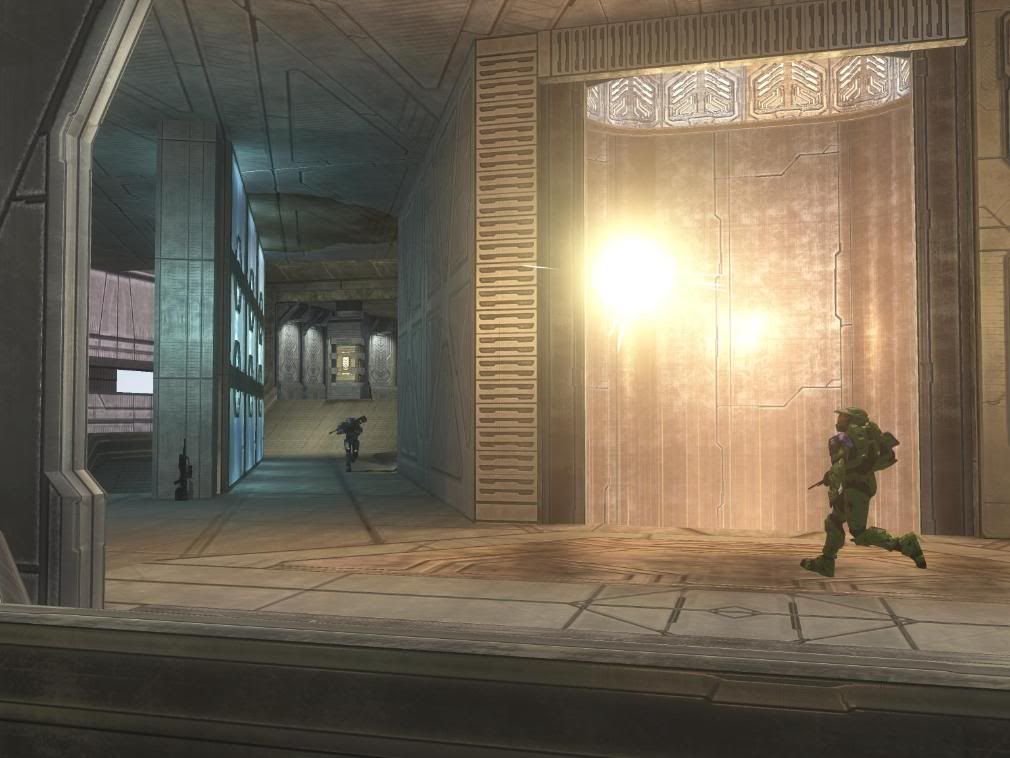
On May 16, 2007, Halo players were giddy to use this…


THIS WEEK – EQUIPMENT
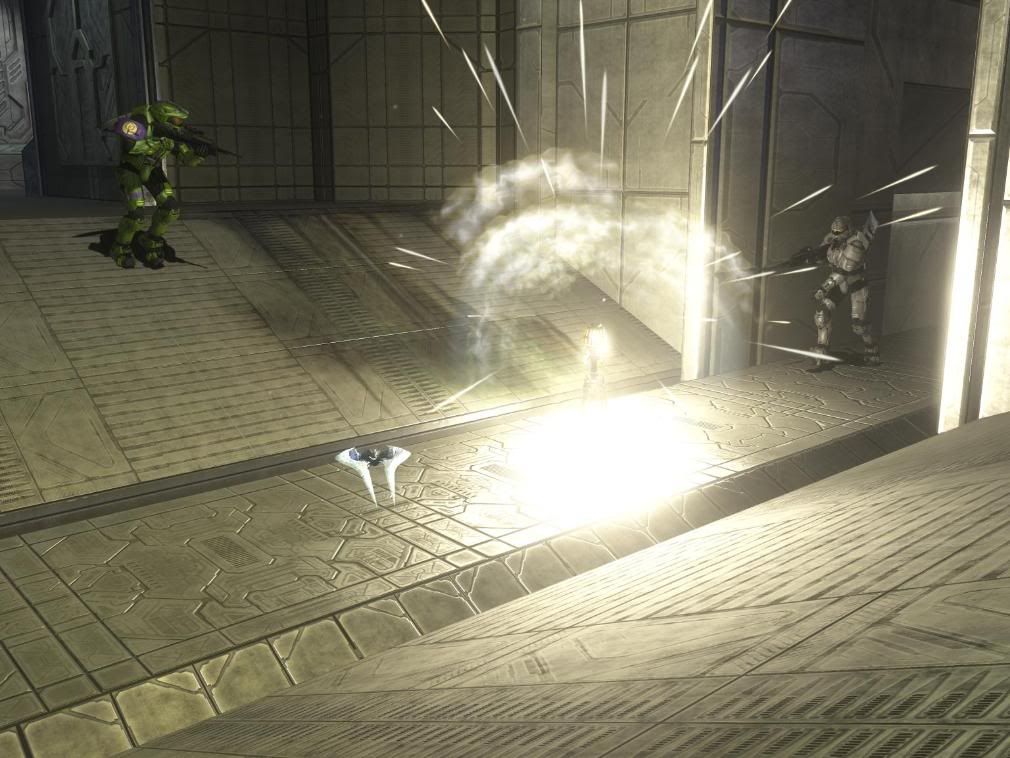
BUBBLE SHIELD

Tip #1 APARTMENTS FROM THE FUTURE!…

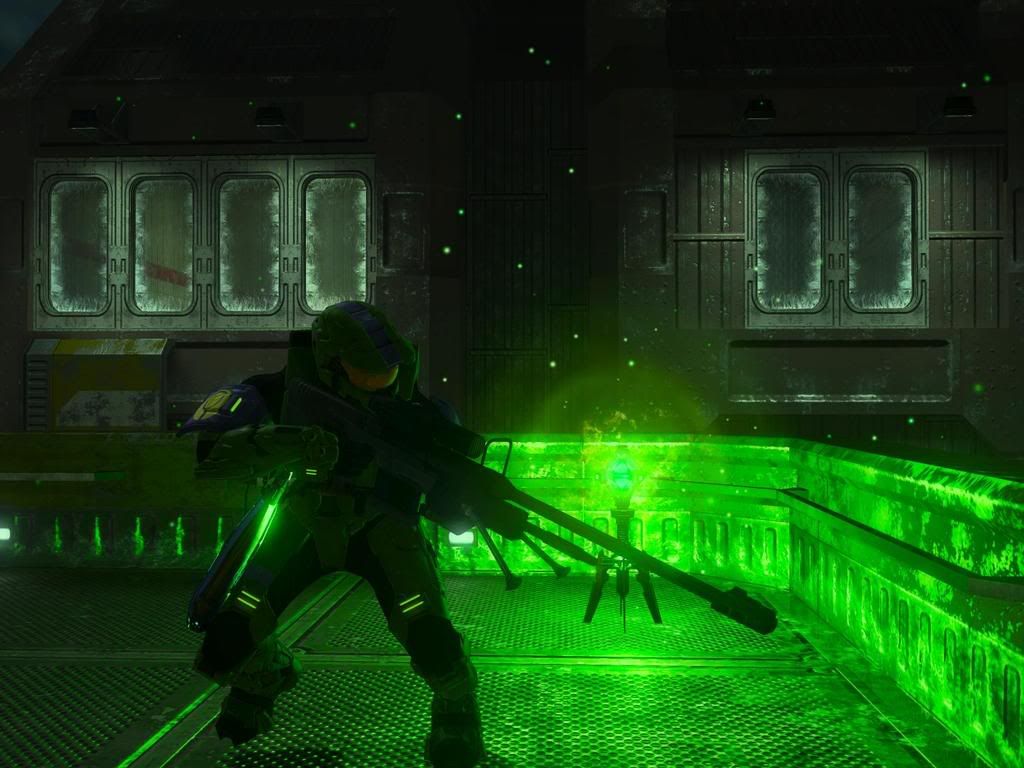
Use the Bubble Shield as a means of getting closer to your opponents or to your most prized weapon. When you’re in an area that’s hot like mama’s freshly baked cookies and you want to get there, use the Bubble Shield as a ways to extend your safety. Toss it away from yourself and as far forward to your objective as possible. To do this, look up into the sky and toss it into the air. Once you’ve deployed it, and reached it safely, you will be nice and cozy in your new temporary home.


Tip #2 – …THEY ALSO COME WITH LIFE INSURANCE POLICIES!

When you’re low on shields and being chased by the man it is always a good idea to deploy a Bubble Shield to or near your destination, just like the above tip. The difference here is that once you see your opponent approaching you’re going to toss a grenade of any sort inside your own shield…

Jump out once your opponent is in in. You are now on the offense. The shield will explode, along with their face. You have now handed out some Exploding-flavored pain to them while you remain completely unharmed. Your next move is to then jump back into the fight and finish the yorb since they are now completely helpless – if they’re not already dead, that is.

Tip #3 – BITE OFF WHAT YOU CAN CHEW

Bubble shields do not stop road rage so DO NOT use them for protection against mobile objects themselves. DO use them against a vehicle’s weaponry. When under heavy fire from a vehicle you should toss a shield, while avoiding the vehicle of course, and either “stick em” or raid their vehicle. It is protection against the vehicle’s fire power, not the vehicle itself. Don’t just stand there, shoot the bitches.

And hope for the best…


Note: The Bubble Shield lasts for a total of 20 seconds.
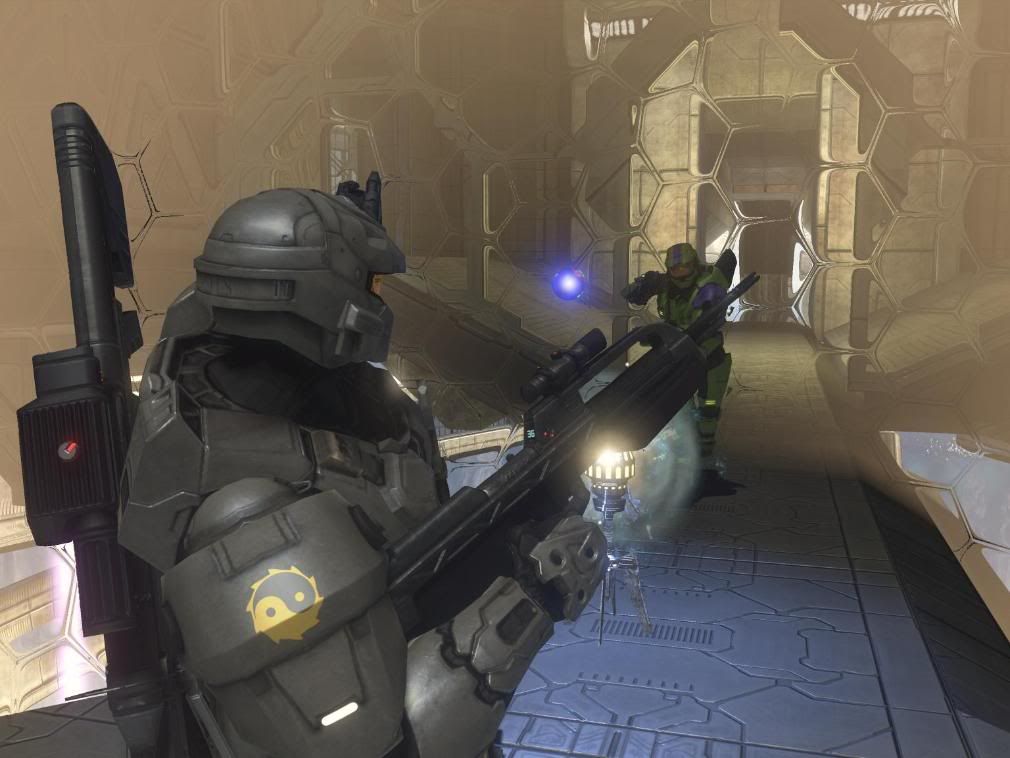
REGENERATOR

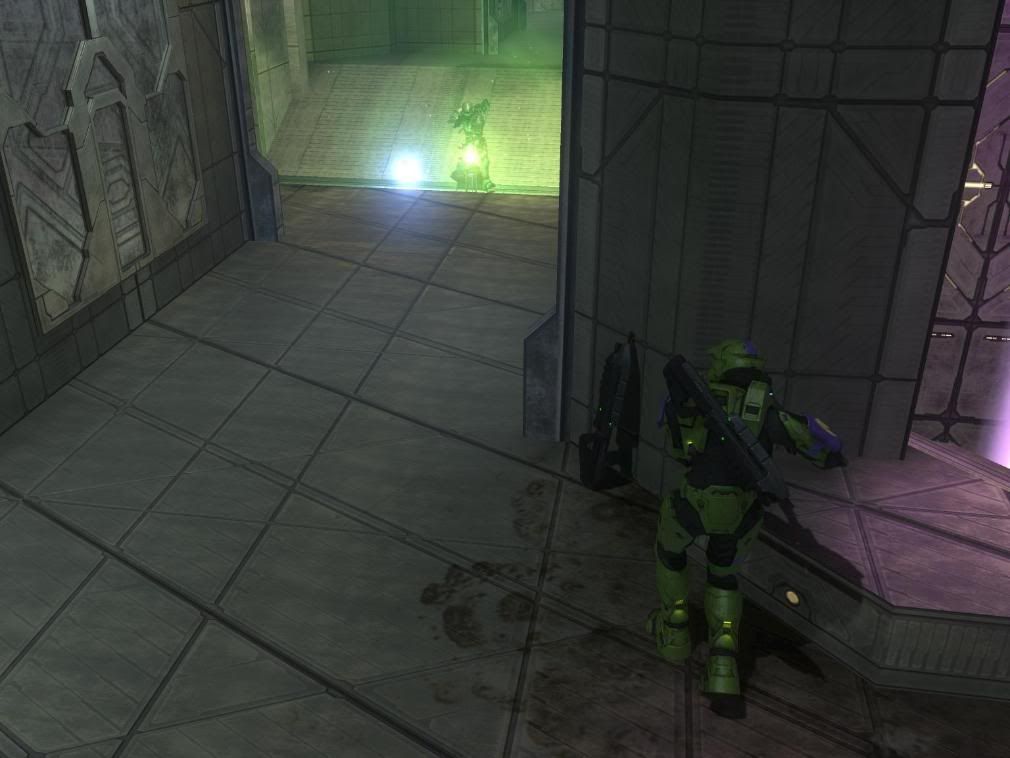
Tip #4 – A SNIPER’S BEST FRIEND

This handy tool gets put to good use in long-range combat situations. Let’s say you end up without any protection and all you have is a sniper rifle. This will keep your shields in tact and provide extra support under fire so that you are very powerful (but not invulnerable) when taking out your enemies from afar.

Also when things become close range, you can still use the sniper to get a no scope and melee. Whenever in a hand-to-hand fight in a regenerator, you have the higher advantage of defeating the opponent if you fire at them first and then whack. Fire then whack. Fire. Then whack. Or just two consecutive whacks. Just make sure you keep your whacking high, otherwise you’re done for…what?

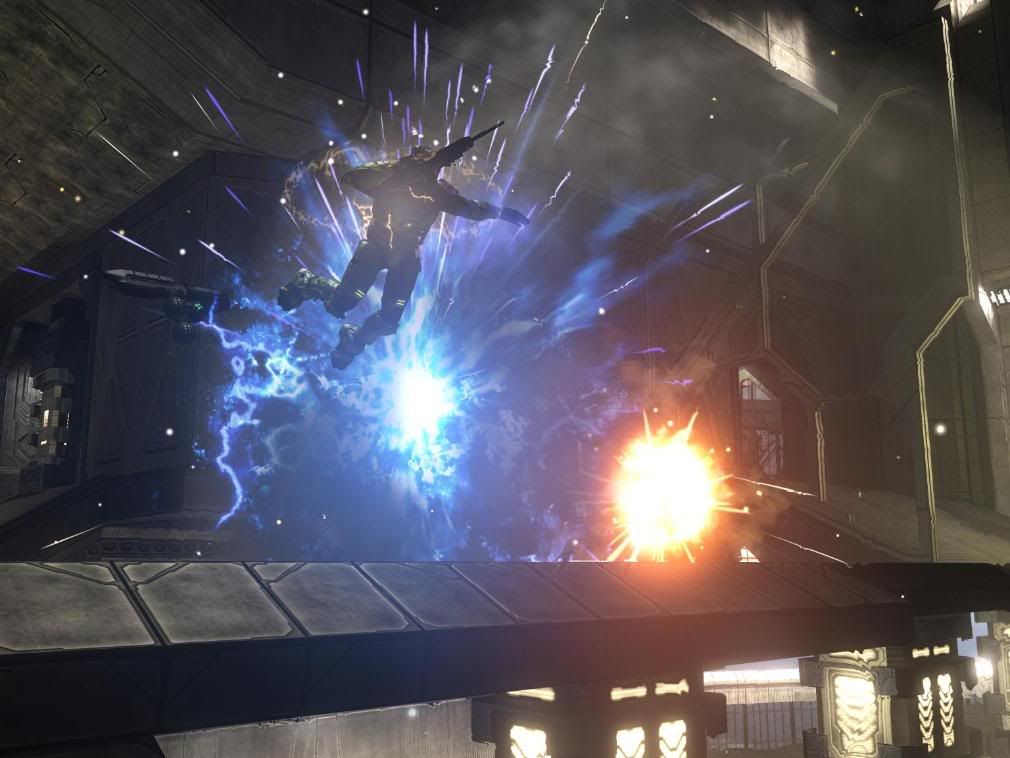
Tip #5 – EXPLOSIVE, BUT DEADLY…

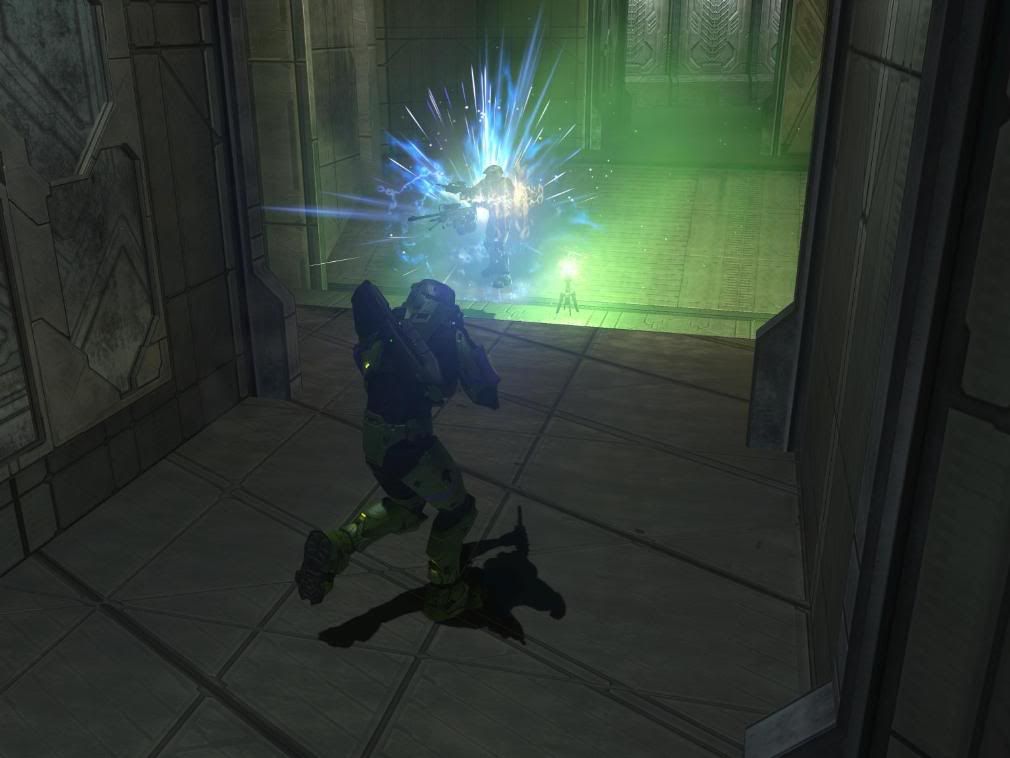
Unfortunately the regenerator doesnt have the speed to heal you when you are hit by explosives, so the more explosive weapons like Rockets, Grenades, and The Brute Shot are more capable of killing you while you’re in a regenerator. Be wary of that.

High powered or high rated firing weapons, such as the Machine Gun Turrent or Needler, are also capable of killing you in the regenerator. These must be used to their full potential, though. Here’s an example of me using a grenade to its fullest potential…

Not so safe now, are you?


Notes:

Using the regenerator as an added element of surprise in long-range battles works great. So does staying with a teammate and actually using the regenerator selflessly to heal.

You can still die under fire by BR’s and/or Carbines. Needlers are the quickest and most effective weapons when playing against someone in a Regenerator.

The Regenerator also lasts a total of 20 seconds.


Teabag Prevention Bonus Tip!…THE FLARE

FLARE

Tip #6 – OH TAKE A LOOK AT ME NOOOOOOOOOOW!

Much like Phil Collins, The Flare is taken out of basically all of matchmaking – so this tip will be mostly for you custom matches fanatics. We see too many people misusing these, so here’s how to be smart about The Flare.
The Flare obviously takes out your vision. That is its only function. What you’re left with after you deploy or are faced with a Flare is that it does not take out your radar and your reticule or crosshair. The crosshairs will still turn red when an enemy is in them. Take advantage of this when under the Flare’s warming light. Stop looking in front of you and use only your radar and crosshair. This is the best defensive tactic in a Flare situation aside from just leaving the affected area.


Tip #7 -DON’T LOOK AT ME WHILE I’M SHOOTING YOU

When you have a short ranged weapon or uber powerful one, use the Flare to disorient your opponent, but pay attention to where they are or where they are heading because you will be slighlty blinded yourself. So once the Flare is in effect, blast away my friend.

The Flare is also very effective in large groups or flag/bomb games. See a bunch of people guarding the flag? Throw the flare down. By the time the Flare’s gone, their flag is too. Just make sure to divert your own eyes – the Flare will blind the player who throws it, too (we can’t stress this enough).

Things to Remember

1. Your Bubble Shield will help you get places unharmed. Not camp out.

2. Bubble Shields will protect against vehicles’ weapons, not the vehicles themselves. Use this to defeat vehicles.

3. Whack off inside a Regenerator.

4. Needlers will kill people in Regenerators. So will Rockets. And Sniping. And well-thrown Grenades.

5. Flares will blind you too, so make sure you’re looking at the right stuff – Your Radar and Your Crosshair.


This week’s Teabag Prevention article was written by:


This week’s Teabag Prevention article, as always, was edited by:


For any comments, suggestions, or inquiries please email us at:

TeabagPrevention@gmail.com

And don’t forget to add us on myspace at:

www.myspace.com/teabag_prevention

Week 10 already? My God it’s seemed like longer. We here at Teabag Prevention would like to say thank you for reading Weeks 1-10 (and if you haven’t, then this is a not-so-subtle hint telling you to do so, asshole) of Teabag Prevention. This is not the end (well, it is the end of this chapter), but the beginning – as this is only the first chapter in how not to get some Spartan balls in your face.

We’re going to end it the way you start out most games. Not with a whisper, not with a bang, but with an Assault Rifle.


THIS WEEK: THE ASSAULT RIFLE


TIP #1 SHORT BURSTS OF LOVE

The Assualt Rifle is most accurate when being shot in short burts of fire. Holding the trigger down is going to provide you with more misses than hits. When shooting an Assault Rifle at mid-range (for lack of having a better weapon in your possession *ahem*!), you are going to have to shoot in short bursts.


TIP #2 OVERCOMPENSATE FOR YOUR INADEQUATE ACCURACY

Due to the inaccuracy of the weapon, you may run out of bullets before your opponent is dead. If you run out of bullets completely your clip will automatically reload. If you are 100% sure that your clip will not kill your opponent, then the best choice you can make is your reloading time. If it seems like your opponent is not going to kill you with their clip, then you are very lucky. If this is the case, please reload before your oppoenent starts reloading. This will give you the split-second head start that will make the entire difference in a shoot out. Unless they have a Battle Rifle – in which case you’re dead.

Really, if you’re lucky enough to get the second chance to kill your enemy, don’t waste it.


TIP #3 HIT IT OR QUIT IT

An important thing to remember is when to melee. Too many gamers out there either melee too early or too late. It’s a common mistake. It’s also very important to know when your opponent’s shield is low enough to conduct a melee.

It takes about half an Assault Rifle clip to lower their shield…

…enough so that one melee can finish the job. Pimp slap that bitch. Hard. She gone done you wrong.


TIP #4 SPRAY THE PREMATURE HITTER! SPRAAAAAAAAAY!

If you see your opponent seemingly following the tip above, you can either continue with tip #3’s strategy, if you feel comfortable with pulling a Romeo + Juliet with him/her,

or you can take a step back and continue firing and finish your opponent off with the remainder of your clip.

Then snicker at their failure. Early meleeing will be the death of a lot of intermediate players. Take advantage of this.


Tip #5 …BUT I DID-NOT SHOOT-THE VEE-HI-CLE!

The Assualt Rifle doesn’t have an effect on vehicles unless the person(s) occupying them has their shields depleted or near depleated. For example, If a enemy Banshee is flying over you with low shields,you can try your short round burts, or, depending on how close the enemy is, you can go all out. You have the ability to kill whoever’s occupying that vehicle – BUT don’t be dumb enough to think it’s going to kill the vehicle itself. Slim to none, my friend, slim to none.


Another example is enemy in a Ghost. If the person’s shields are depleted, and driving away from you, SHOOT THEM!!!


Things to remember:

  • Like all projectile weapons, a grenade-projectile combo is always good. So, throw a grenade, lower their shields, and unload half a clip in ’em. That should do it!
  • Shoot in small bursts of fire
  • Reload strategically and compensate for the weapon’s inaccuracy.
  • Spray the shit out of early meleeers.
  • Works on vehicles only if thier occupants shields are low

Once again, thank you for reading the Weapons Series. This concludes your broadcast day on weapons. You should be able to kill all bitches with anything you see lying on the ground now. Go outside. Pick something up. Kill someone. Take it from us, it is perfectly acceptable!*


*Note: It is completely unacceptable to kill any human person. By outside we meant Valhalla. Go there. It’s pretty…
Indian Thing

This week’s Teabag Prevention article was written by:


This week’s Teabag Prevention article, as always, was edited by:


For any comments, suggestions, or inquiries please email us at:

TeabagPrevention@gmail.com

And don’t forget to add us on myspace at:

www.myspace.com/teabag_prevention


Finding multiple dual wieldable weapons in the same area is like choosing between two blondes and two red heads. It’s ok to experiment, but if you choose the wrong combo you’ll fail miserably. Some combinations that may work for certain people can be disastrous for others. The following are just some examples of the different combinations you can choose from.

Note: you’re going to hear a lot about Plasma Rifles and Plasma Pistols. The reason why they don’t get their own tips is because of how common they in the grand scheme of combinations. Also, they are reffered to as: Shield disablers – aka the obvious choice.

THIS WEEK – DUAL WIELDABLE WEAPONS

Tip #1 – OPPOSITES ATTRACT


Dual wielding two of the same weapon MAY NOT be as good as a combination of two weapons. For example: If you pick up a Plasma Rifle and an SMG, you’ll be sure to take out anyone else holding two Plasma Rifles or two SMG’s. The reason? A Plasma Rifle’s purpose in life is to disable one’s shields

An SMG’s purpose in life is to simply penetrate you…as in your skin. Anyway, combine the two and you get a penetrating-shield-disabling combination of a kill.

Look how cute they look together!


Tip #2 – MAUL RATS


The Mauler can be the most annoying weapon in the game. One shot and one melee is all it takes to send you to Spartans (or Elite)Hell…and to possibly dine there as well (I’m sorry, we know how crappy that movie is..but it was there…it was late….)

So aside from it being annoying (or a window for annoying references), a Mauler can also rbe combined with other weapons for maximum effect. The Mauler is one of the “penetrating types” (as opposed to the “shield disablers”). Sure, it lowers your shield, but it acts like a small Shotgun. Combining this weapon with a Plasma Rife or a Plasma Pistol will give you the upper hand on disabling your enemy’s shield…

…it will also give you a straight shot at them. In this case, dual wielding Maulers can be a good thing, but only if you’re at close range. It’s usually not the best idea, though.


TIP #3 PISTOL P.I.


Ahh, the pistol…errr…um…I mean Magnum, you have evolved over the course of six years and seven months. Since the disabling of the zoom function, the Magnum has become a dual wieldable weapon. Though it looks bad-ass holding two Magnums, (even more so in Halo 2 because they’re jet black),


They aren’t very effective unless you get spot-on headshots. Even then, it can be difficult to score a kill.

To make it easier, pick up a Plasma Pistol up and use its charging capabilities to disable your opponent’s shield.

Once you’ve got that done, it’s pretty much a one-shot kill.


Tip #4 – I LIKE SPIKE


Spikers are part of the “penetrating type” family (that sounds horrible…), and yes it would hurt to be penetrated by a spike. Using this weapon with a Plasma Rifle or Plasma Pistol is a great combination to use.

Like the Maulers, two Spikers can be effective at close range. This weapon is a good one to use in any combination. It can go to medium range if needed, but keep in mind that the spikes have a slight arc.


So if you do go medium-range on someone’s ass, make sure you aim at their mid to lower back, like so:


And then, enjoy the results.


Things to remember:

  • A good map to test all these variations out would be: The Pit
  • One combination might not always work. Experiment with what you have.
  • Shield disablers + penetraition = WIN!
  • Shield disablers + Sheild disablers = LOSS
  • Double Penetration = Everyone Wins…


This week’s Teabag Prevention article was written and edited by:


For any comments, suggestions, or inquiries please email us at:

TeabagPrevention@gmail.com

And don’t forget to add us on myspace at:
www.myspace.com/teabag_prevention


Isn’t it funny when someone takes a laser pointer to a concert and makes it look like Tinkerbell is dancing on the lead singer’s junk? This is the one I wish someone would take to an American Idol taping. The Spartan laser is hell in a bottle. Get ready to start pouring it out all over your dead homeboys.

The Spartan laser, or “Splaser” as it is called by the biggest of dorks, has a few quirks to it that you need to get used to before you can dole out the damage. Here are some tips that will make it easier for you to make your friends inclined to call you a cheater.


This week in Teabag Prevention: The Spartan Laser

Tip #1: THEY CHARGE YOU BY THE HOUR

Much like Brian Gilmore’s average sexual encounters, the laser has a three second charge time that is required before every shot. Get used to it. If you somehow get into a cross map game of laser tag, knowing this three seconds deep down in your bones will keep you alive.


Tip #2: NO FREE REFILLS

The laser doesn’t use “ammo” like most weapons, but instead has a battery. A battery is full at 100 with each shot taking 20 away for a total of FIVE shots per laser. Keep track of these not only for your own laser, but also be sure to let your teammates know if you get taken out with the opponent’s. If you die via laser, then the opposing team can have no more than 4 shots left. Be sure to play on the conservative side until you know it’s safe for your team to start with the razzle-dazzle.

Another way to piss off the enemy with the laser would be to toss up a bubble shield. On maps like Sandtrap, it may be difficult for the other enemy to see the bubble shield from far away. Also, this may require Jedi reflexes:


Tip #3: USE A TRIPOD

The best way to use the laser is to plant your feet and follow your enemy. There is no need to “lead”, or shoot where your opponent is GOING to be, because it’s a fucking LASER right? Speed of light anyone? Anyone? Bueller? While this can be true, if you can anticipate where your opponent will be as opposed to where they are you won’t give them much chance to hide. While someone is “painted” (the laser is aimed at them and charging) they hear a distinct high pitch tone. Let them find out as opposed to telling them in advance. Here’s an example on my file share. I was pinned down by a fully loaded warthog, but anticipated their path and added two notches to my bedpost:

http://www.bungie.net/forums/posts.aspx?h3fileid=18056634

TIP #4 UNLEASH THE FURY

The same shot that you used to kill one enemy on foot could have been used to kill four people at once, blow up two vehicles, stop a bomb carrier, and get a killing spree. The laser is a POWER weapon, but only as powerful as you allow it to be. This is a clip of a friend of mine doing all of the above:

http://www.bungie.net/forums/posts.aspx?h3fileid=18066886


TIP #5 ABUSE PREDICATBILITY

Say you’re in a smaller map map, such as Construct, the laser isnt as good as a weapon as it would be if you were out in an open map such as Vallhalla or Avalance…or is it?

Walkng around with the laser, charging it even before you see the enemy, can be helpful. In the screenshot below, notice how the arrow is pointing to the midsection of the outer circle.


When they’re running out, you’ll have your laser charged by then.

Then…..

…they’ll have no choice but to walk into the light.


Things to Remember:

1. 3-second Rule: The laser takes three seconds to shoot. Plan accordingly.

2. The Laser has limited ammo, so use accordingly.

3. I’ve got the power! Make sure you realize you can stand still and aim accordingly (mostly on big maps).

4. Plan your kills accordingly. Use the laser to its maximum potential.

5. Anticipate your opponents’ trajectory. They’ll never know what hit them…until you do.


This week’s Teabag Prevention article was written by:

jake108 


Edited by:

Brian Gilmore


For any comments, suggestions, or inquiries please email us at:

TeabagPrevention@gmail.com

And don’t forget to add us on myspace at:


http://www.myspace.com/teabag_prevention


The needler is a small, dangerous, pink and sticky weapon. Don’t let the size of it fool you, because it is not the size that matters – it’s what you do with it. On this week’s Teabag Prevention, we teach you how to stick your pink in the right places.

THIS WEEK: THE NEEDLER


TIP #1 PINK ISN’T THE NEW ANYTHING. BLACK RULES.


Nobody likes to wear pink. Well, unless they’re a douche, nobody likes to wear pink. Don’t be “that guy”.

During a needler face-off the most important part of the battle is knowing how to dodge the sharp needles being thrust into your body.


if your enemy has The Needler as well, you need to either get

a) Closer to them, or

b) Farther away.

Doesn’t sound helpful? Here’s what we mean:

a) If you don’t move, you’re an easy target. This weapon is very deadly at medium to close range. Your best bet here, as their needles will follow your body everywhere, is to get to him before he kills you. You both probably started firing at the same time. Both of you will most likely die. It only takes a little over half a clip to kill you. Once it is – you’re toast; but so is he. You don’t want to tie up the score; you want to win. The best thing you can do in a N vs. N is to approach them until you can hit them. If you’re not dead yet and he doesn’t hit you back, then you will most likely survive. Otherwise, be ready to become the Juliet to his Romeo.

.

Note: When dodging at close range, dont run straight into it. It only takes about seven insertions to create a large explosive stink.


b) If you’re any father away than medium range, you’re going to want to move backwards. More importantly, though, you’re going to want to hit your opponent with everything you’ve got (simultaneously). Make sure to strafe left and right and maybe to even jump (just don’t hurt yourself by going off any ledges). By doing that, the needles will have less of a chance at hitting you (which is good).

If you don’t…

…you will die.

Note: Remember it only takes about half a clip to kill you. It’s not really important to tell you how many consecutive needles would kill you, because come on – who the hell’s counting those


TIP #2 WE ARE.


It is important to know your spawns in Halo, but it is almost equally important to know (approximately) how much ammo it takes to kill with each weapon and how much each weapon holds.


We already know that The Needler can kill you in a little over half of clip’s worth of shooting. The Needler itself can run out of ammo fairly quickly because of how fast it releases its bullets. The Needler magazine holds only 19 needles, so the maximum amount of ammunition consists of 95 needles. The needler is only effective when it you can empty about half your load into someone else. An under-loaded Needler is like a guy with E.D. – useless when it matters and in need of some serious medical attention.


TIP #3 SHERLOCK HOMING


The Needler has a slight homing ability, but it needs a little bit of guidance – this is where you come in. In order to use the needler efficiently, you need to predict your opponent’s dodges. For example, if they start strafing to the left or right, shoot ahead of them. If they start getting creative, try and “guesstimate” their trajectory and shoot there.


TIP #4 QUANTITY IS QUALITY


At medium range, empty your load quick and get out. It takes a lot of practice, but once you master getting as much of your clip into a person as possible while dodging their attacks, you will win battles against battle rifles, carbines and other mid-ranged weapons. The needler, if used correctly, can win any mid-range battle (might a little hard against rockets, though).


Note: Don’t try facing off against a sword with a needler at closer range at home…for now.

TIP #5 THAT MOVIE WAS HORRIBLE. DON’T REMIND US OF IT.


DO NOT USE THE NEEDLER ON A VEHICLE. HOLY CRAP. IT CANNOT BE STRESSED ENOUGH THAT THE ONLY RESULT YOU WILL GET FROM FIRING NEEDLES AT A VEHICLE IS MAKING IT LOOK LIKE A CHARACTER FROM THAT HORRIBLE SUPER MARIO BROS. MOVIE FROM THE 90’S.

Things to Remember:

1. Dodging is half the battle. Make sure you can dodge in a way your enemy won’t be able to predict.

2. Count on bad dodgers to plan their trajectory and pump them full of needles before they can kill you.

3. Keep your Needler fully loaded.

4. Keep dodging – The Needler is a great mid-range weapon.

5. Don’t make vehicles look like the pads on the Legion of Doom.

Get out there and use your Needler responsibly. Wow. That was hard to get through without making any immature penis jokes revolving around the color of the bullets and the fact that they stay inside your opponent. Let’s breathe.


This week’s Teabag Prevention was written by:

Edited by:


For any comments, suggestions, or inquiries please email us at TeabagPrevention@gmail.com And don’t forget to add us on myspace at:

myspace.com/teabag_prevention