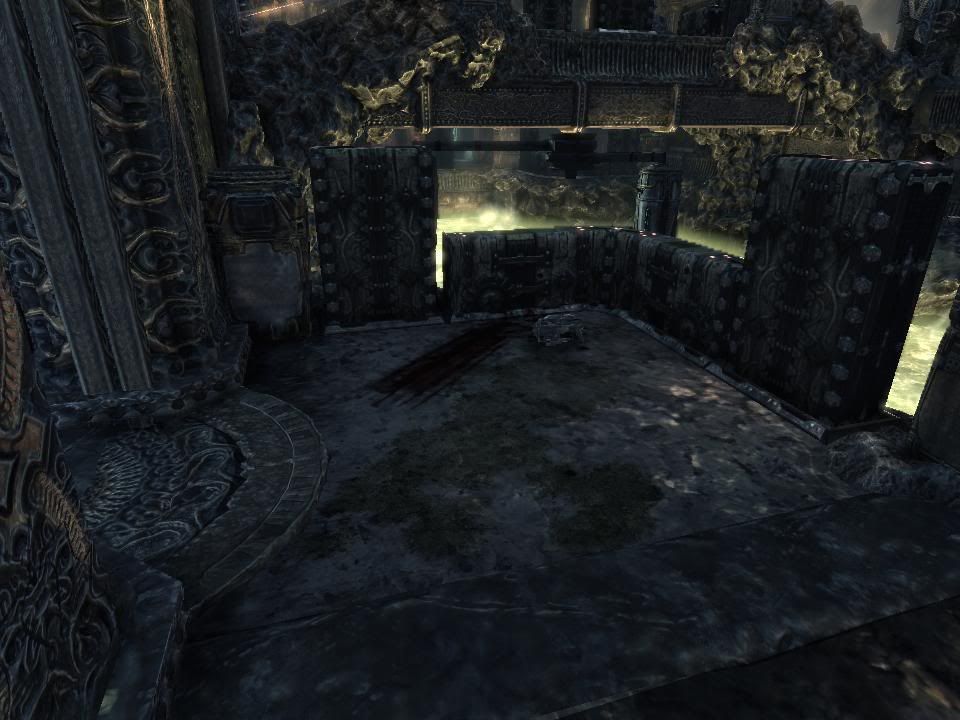
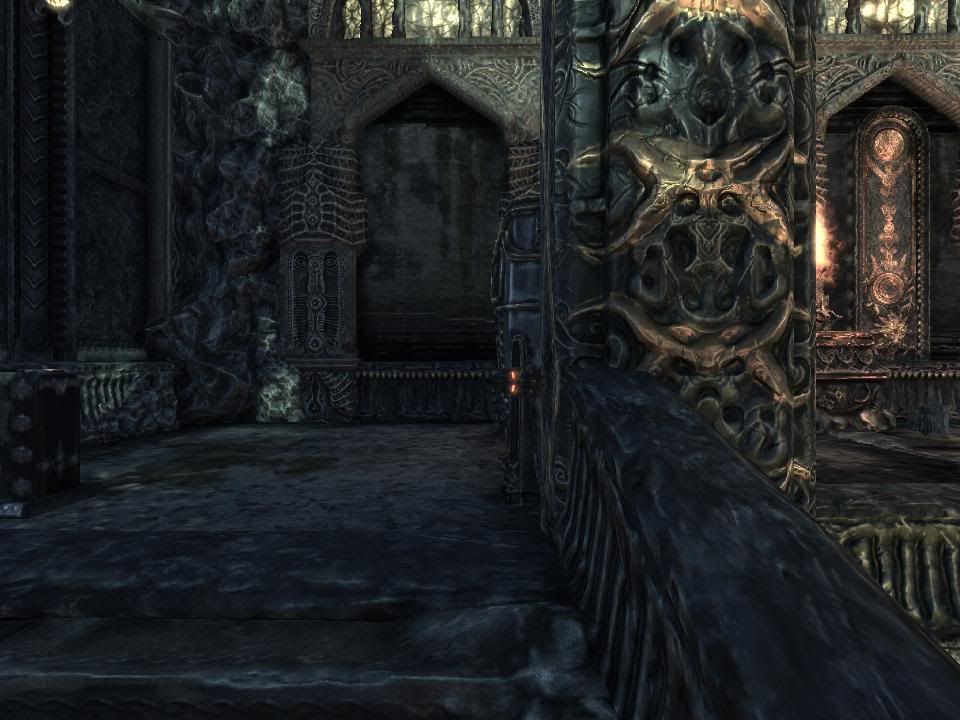
This map, unlike others, is dark, ugly, and somtimes scary. It’s modeled so that it’s in the Locusts’ turf. There are many corners and places where you may easily get confused. This confusion leads to you dying needlessly in the field of battle for the ones you love. May I present to you:
THIS WEEK: GILMORE’S HEART RUINS
TIP #1 – YOU KNOW WHAT’S FIRST
Longshot/Torque
Oddly, this spawn point isn’t placed at the highest point of the map. This makes those sneaky bitches who hog the Longshot even sneakier because it allows them to scurry about on the bottom floor. So once you scurry your way to the Longshot, watch out for enemies.
Grenades
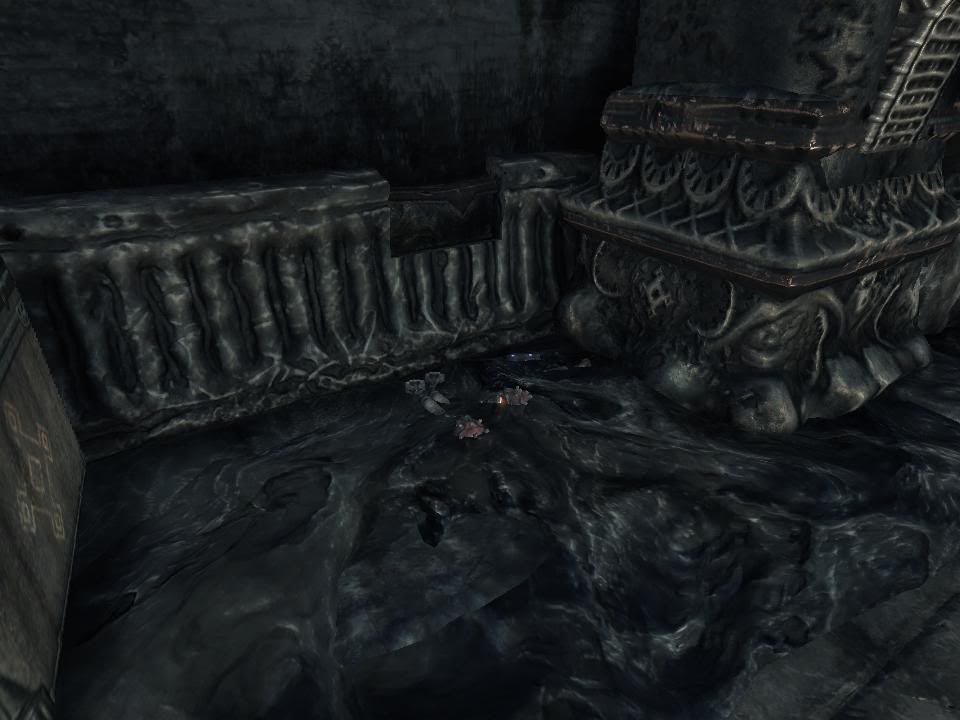
This weapon is also on the bottom floor. The bitches I spoke of who scurry about may pick this up on their way to the Longshot depending on what side of the map they’re on. But be weary of those who bypass the Longshot simply to kill you. That, my pupils, is called a bitch move.
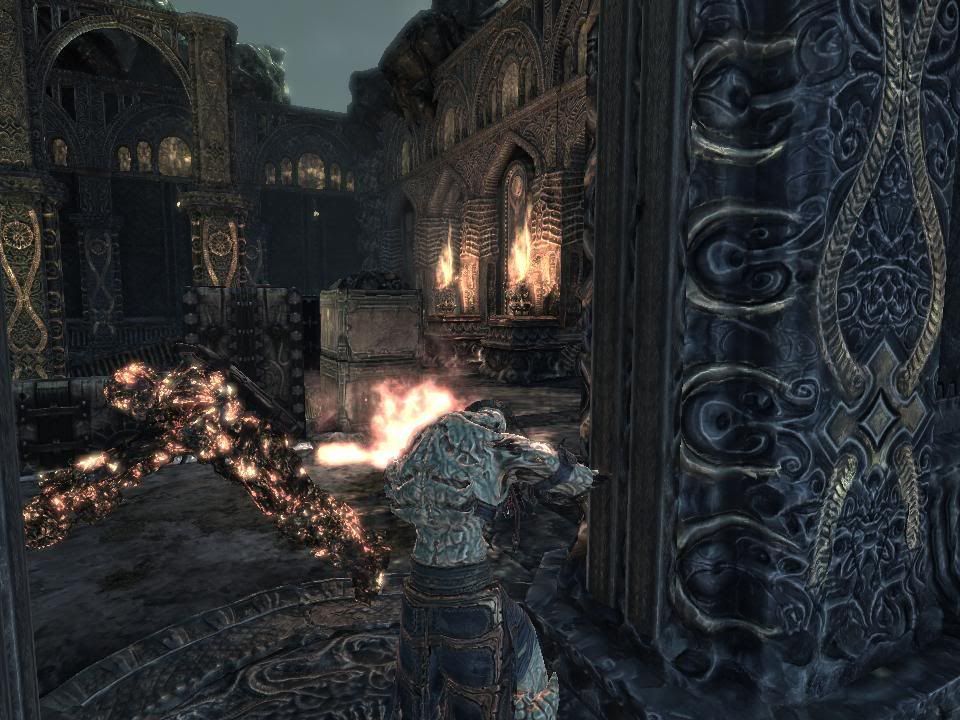
Scorcher

Now, for the amusement of whoever thought of this idea, the Flamethower was placed on top of the bridge, a.k.a. top of the map. Many people tend to rush this spot, so if you manage to push the enemy back enough so you can pick it up, do it and blind fire it.
Pistols
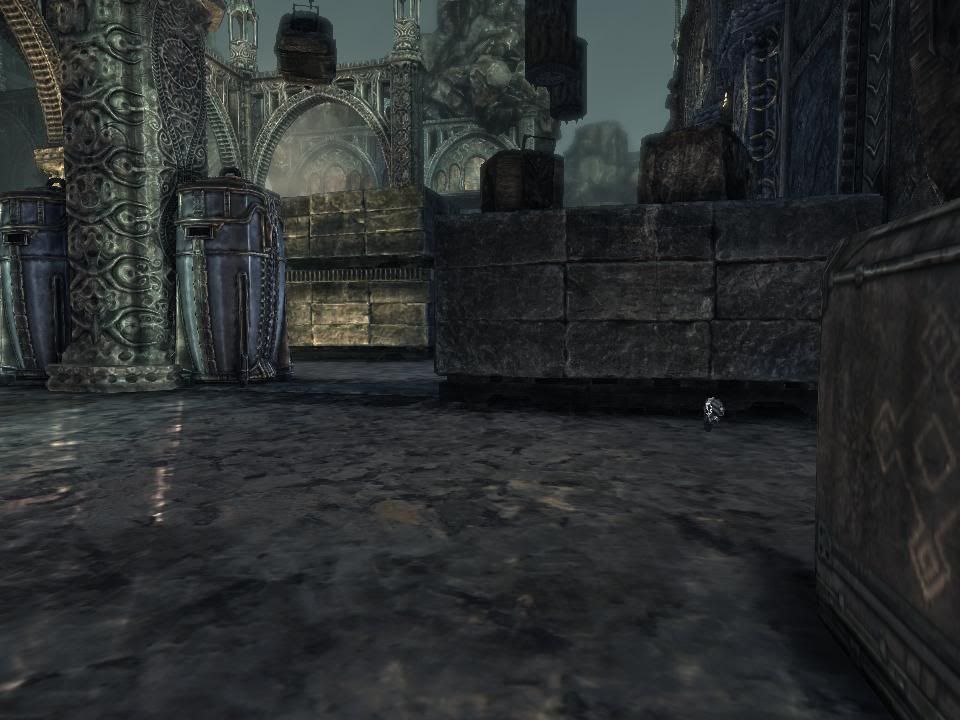
Luckily, these babies are located within the interior of the bases. You need not worry about predators lurking around, unless your teammate seeks the same prize.
TIP #2 – LOST IN TRANSUBSTANTIATION
Let’s start with the spawn point. Is it me, or is it unecssarily big? This accounts for part of the confusion many players have. It’s okay to admit it. I myself avoided this map because I didn’t know where I was half the time – or where anyone else was for that matter. Hell, I don’t know where I am now!
Luckily, there are some easily identifiable landmarks:
Bridge:
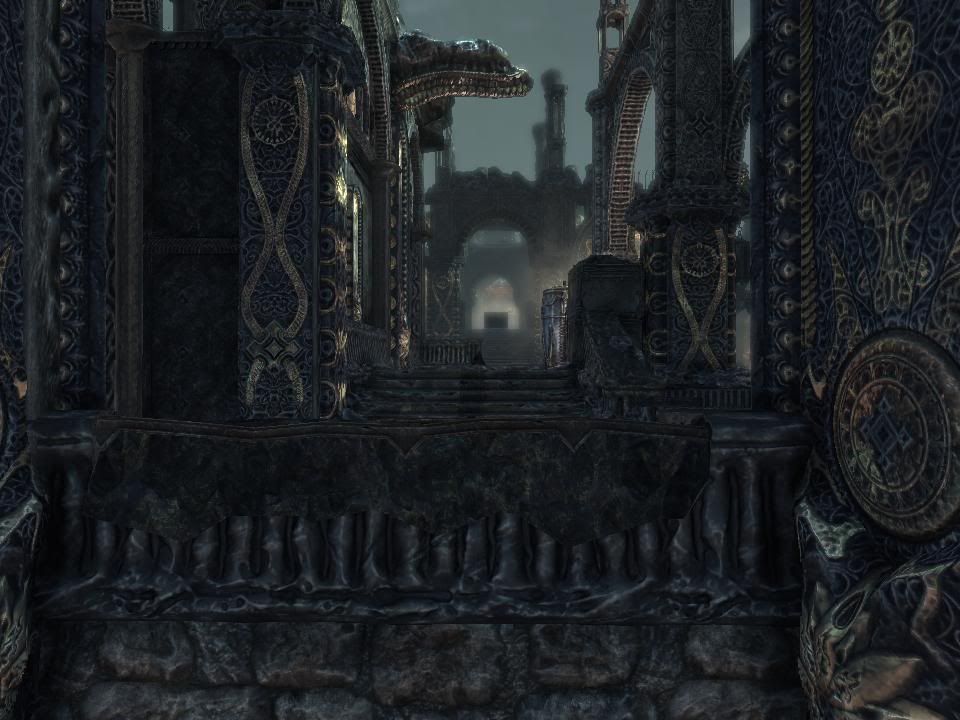
Steps leading down:
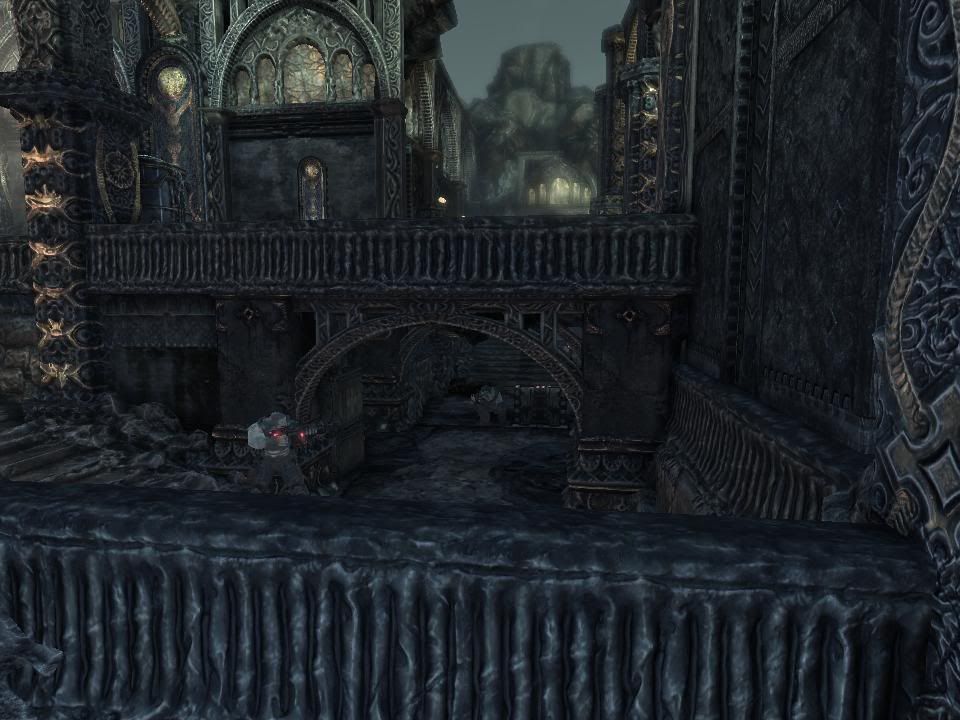
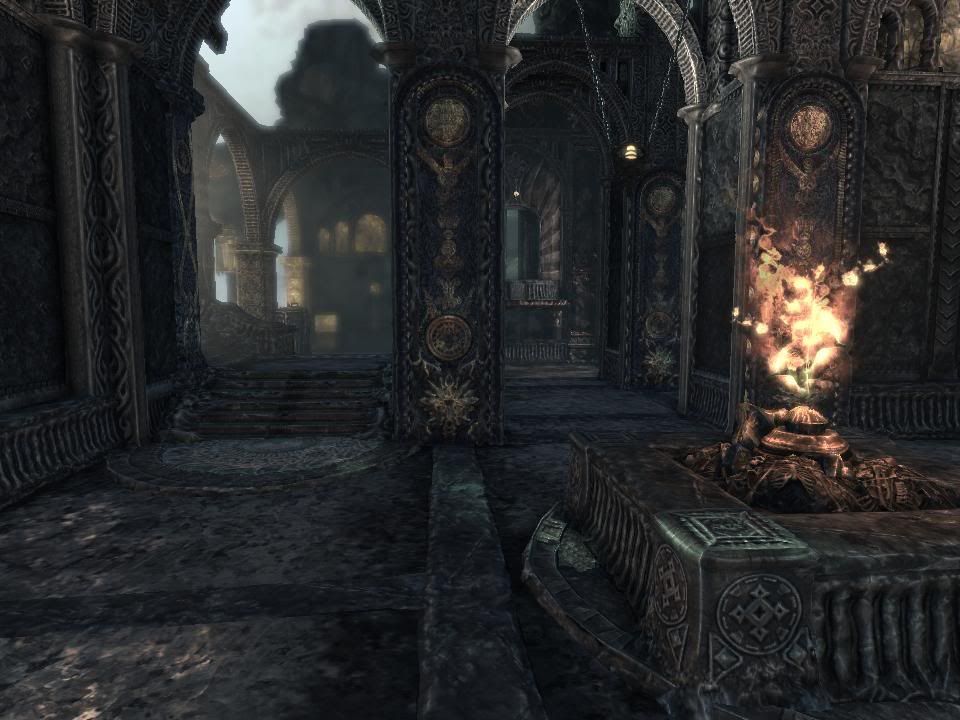
Flame:
TIP #3 – PUSH IT REAL GOOD
Since the Longshot isn’t on top of the bridge, you’re going to have to rely on your teammates to help you push the enemies down the bridge.

BUT, there is a way to fight on two fronts.
The added bonuses of this map are, of course, the cover walls that slide up from the ground. Use these to your advantage, if you didn’t already.
TIP #4 – JAMES HETFIELD LOOKS LIKE A LION
While the battle for the bridge is happening, sending a couple of teammates down below wouldn’t be such a bad idea. By doing this, you will have the oppertunity to pick up a weapon and some ‘nades. Once you reach the other side, kill ’em all – like that Metallica album.
TIP #5 – LURK IN THE DARKNESS
Tagging on this map has its advatage. If you haven’t guesed it already (Brian), the advantage is the many dark places of the map. So, tagging pretty much anywhere that’s dark is the way to go. Good luck, my pretties.
Written by:
Jake108
Edited by:
Brian Gilmore
For any comments, suggestions, or inquiries please email us at:
TeabagPrevention@gmail.com
Show your Support!
Join our Facebook Group!
Watch matches and clips at gamevee.com
And don’t forget to add us on myspace at:
www.myspace.com/teabag_prevention
Tell your friends about us!
Special Thanks to: DarknessOrchid
And now, a special place, for our special fans:
Our Faithful Reader, Josh, Says:
Hey whats up,
I’m Josh, I was reading Your article its good, covers just about everything that beginners would need. But when are You gonna make a more advanced one for more experience players?
I got just about everything down with the sniper I mainly am a Jumper Sniper I like to stay concealed and jump to line the shots up because I feel that when you jump and if you keep head level and focus You can steady the shot just as well on the ground if not better in air, plus less chance in the air of really getting shot, well if You know where to jump and stay out of sights.
Wondering if you have any tips for me except for keep practicing haha I’ll always be doing that.
Thanks and nice guide.
First, thanks for reading. As far as writing for the experienced player, well, I’ve never really thought about that. But because of this email, I’m seriously considering it. When I do, it’ll probably be after the GoW2 article series is done.
As far as your question, it’s whatever works for you. I strongly encourage everyone to adapt to their own style because that’s how I learned best. If you feel its easier to jump then snipe, then by all means, do it. When I start writing for the experienced player, I think I’ll start with Sniping…
-jake108