Halo isn’t a video game. It is a sport. It is a way of life. It is the best console FPS multiplayer out there right now. Don’t like it? It’s cause you suck at it. Welcome to Teabag Prevention: the weekly column on geekscape.net that will solve that Halo sucking problem you’ve been having – as well as that problem known as “your social life”. Get ready to stop contributing productively to society with the rest of us.
This Week: The Legendary Map Pack
Blackout
As geeks, we spend disgusting amounts of money on a lot of crap we don’t need. We get screwed into collector’s editions, box sets, variant editions, anniversary packs, and new maps for our favorite FPS’s. On April 15th, 2008, the Legendary Map Pack came out for the Halo 3 multiplayer on XBox Live. This map pack made “this was not a waste of money” something more than a mantra you say to yourself as you’re reading your credit card statement – it delivered. Solidly. Here’s how to make these maps your new breeding grounds for pain.
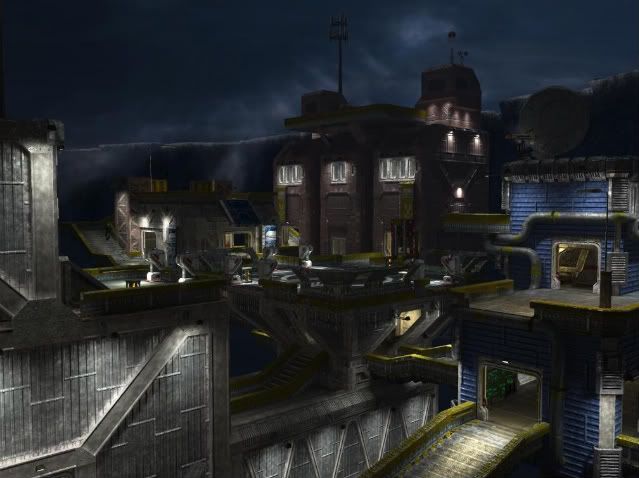
Blackout’s setting is what appears to be an oil rig set up in the middle of an artic ocean on an alien planet. Its darkened skies and awesome moon set up a much darker side of Halo’s multiplayer maps and as we all know, Blackout is a remake from the famous Halo 2 map, Lockout.
TIP #1: MIND YOUR GRAV LIFTS!
Always take note of a Gravit Lift in any map. In Blackout, there is one lift that will take you to the surface of the map. Say you’re running close behind someone, they go up the lift, what do you do? There are multiple ways of getting the job done in the next moment or so.
a) Throw two grenades at the lift which will follow your enemy all the way up and explode near him or even kill him.
b) If you are sure you know where they will be standing, you can follow them up (waiting for your grenades to explode) and shoot your enemy dead in just a few shots – their shields should be down at this point.
TIP #2 SPAWN WITH THE WIND
One of the most important things to know when going into any map is where each weapon spawns (where the weapon is placed in the map, in default settings mode, at the beginning of any non-custom match). Get to one of these points as fast as you can. The most easily accessible and important spawns in Blackout are the Sniper Rifle Spawn and the Sword Spawn.
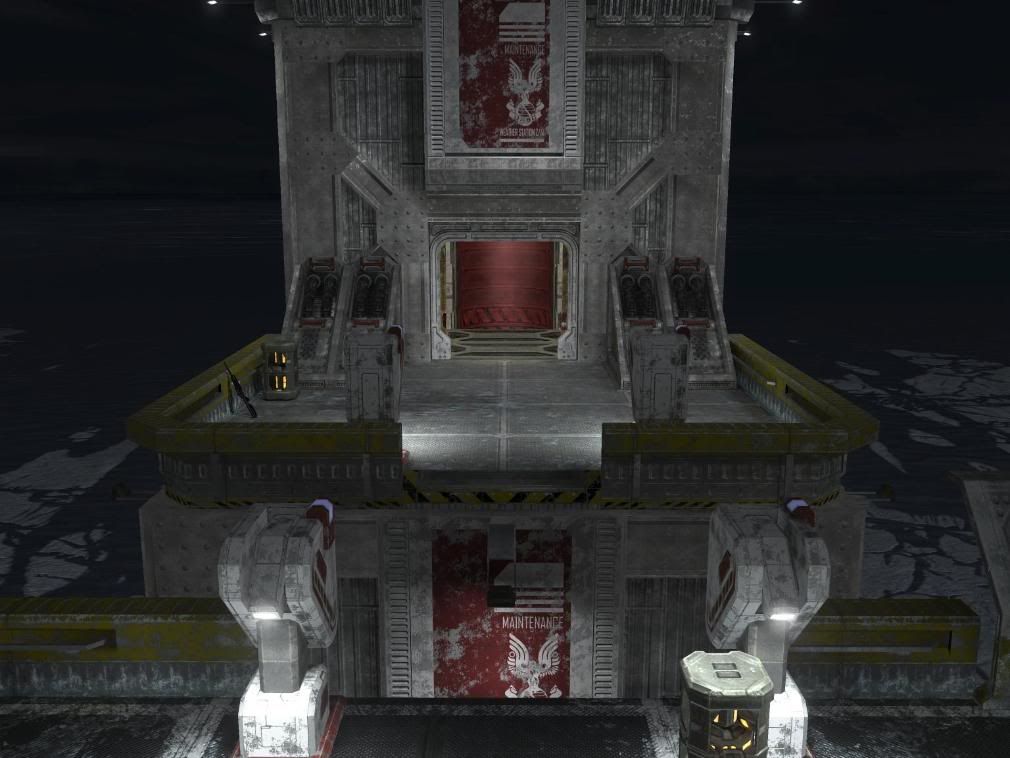
The Sniper Rifle spawns at this tower (directly across from the tower with the Battle Rifle).
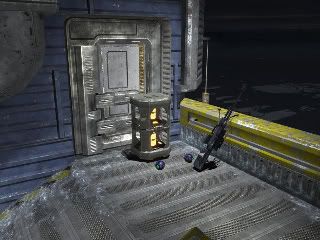
Things to do when retrieving the Sniper Rifle at this spawn:
a) Mind the explosive canister. Either shoot it yourself from a safe distance, or grab the Sniper Rifle and run. The explosion from this will most likely kill you instantly.
b) Do not camp out here. It is an easily accessible and directly shootable spot. Use some of the other rooftops and high points located throughout the map.
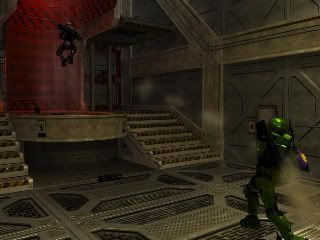
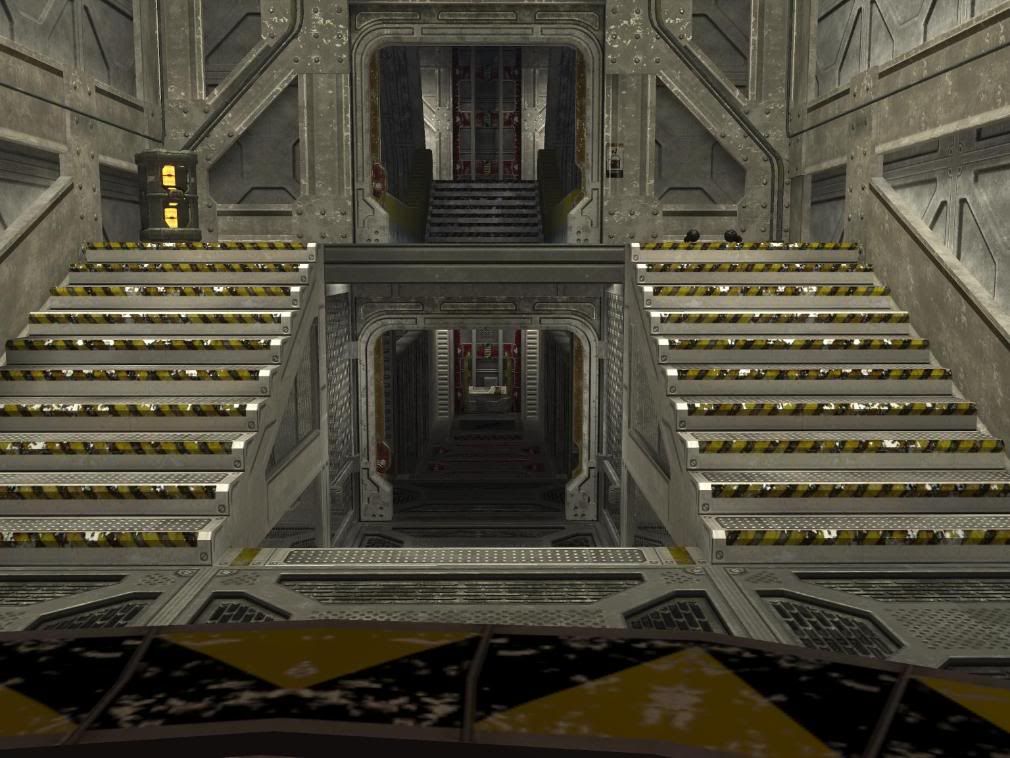
The Sword Spawns in the lower part of the map. If you are where the Battle Rifle spawns, then this room will be just a jump away – to your left.
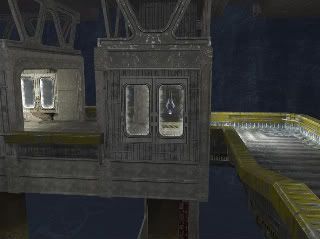
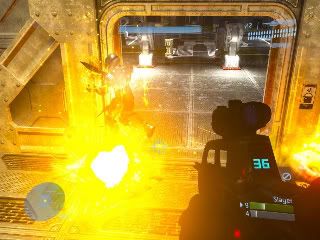
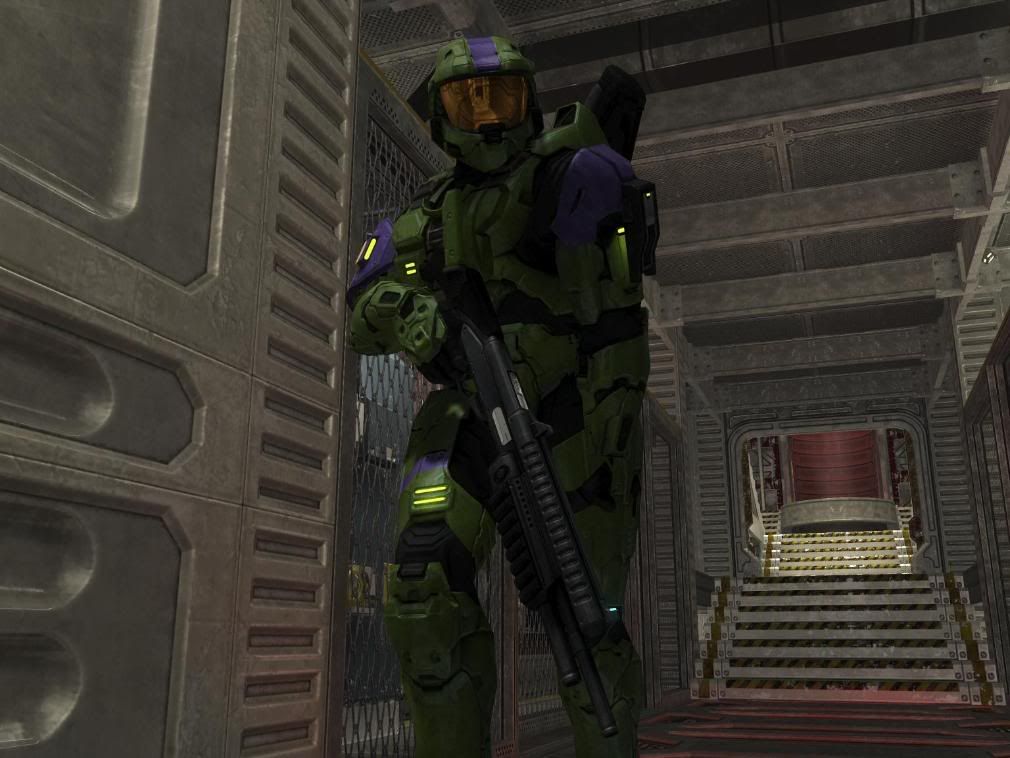
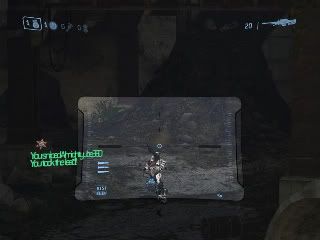
The shotgun spawn is located just under the lift room pictured here:
Walk down the hallway as pictured here:
And you’ve got yourself a shotgun.
After you have the most imporant weapons in the game, the sneak-attack nature of this map should be no problem for you to handle…unless you’re completly awful in which case it’s a good thing you’re reading this.
Remember:
1. Know where the power weapons are such as the sword, shotgun, and sniper rifle.
2. The Battle Rifle is a fine killing tool.
3. Pay close attention to your motion tracker.
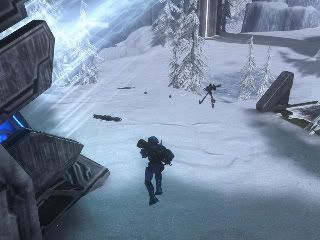
Avalanche
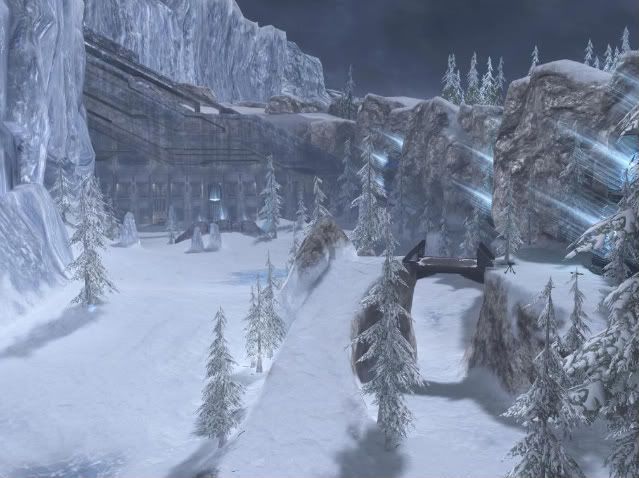
Honestly, we were excited about Blackout, but the idea of Hornets in the sky doing battle with Wraiths and Scorpions on a large scale, Hoth-like, remake of Sidewinder was just too overpowering. Such explosions and cross-map laser shots brings us into giggling school girls as we write this.
Avalanche is awesome.
Whenever we spawn into this map, our first instinct is to rush the Hornet. You may have noticed that it’s severely dubbed down. Missiles are disabled and the machine gun does less damage, can it be used efficiently now that it’s finally in Matchmaking?
Tip #3: GET IN THE CHOPPA! (Actually…Get in the Hornet – It’s called a Hornet)
In Objective gametypes, Hornets can be easily used to transport flag carriers, bomb carriers, or just some friends to help take over an enemy base. The enemy base will always be on the opposite end of the map from where you first spawn. This Hornet can be your best friend.

Look how awesome you look carrying that flag. Clear sailing, right?
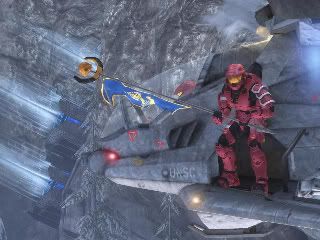
but beware, a single shot with a Spartan Laser could take you down.
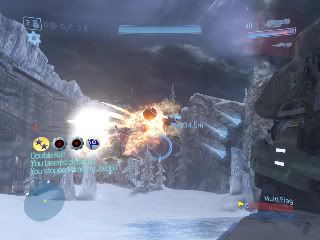
Tip #4: CANNON IN D (FOR DEATH)
Man Cannons – Grav Lifts that launch a man forward. A grav lift carries you somewhere – a MAN CANNON shoots you there.
On avalanche, these Man Cannons are the easiest way to get around the map on foot. This is especially helpful during objective games when every vehicle is either being used or on fire somewhere on the map. During these games, time is of the essence! Use them while on foot.
At spawn point, though, you may be thinking to yourself “Ooo! Man cannon! Easy transport!”. You’re wrong.
If you want to get to the middle of the map as fast as you can: instead of flying off the first one you see, try going to the teleporter either to your right or left, depending which base you’re at.
Not only will you be teleported to a Man Cannon that will get you to the other side of the map much faster, but you’ll also be treated with a Machine Gun Turret, and Rockets.
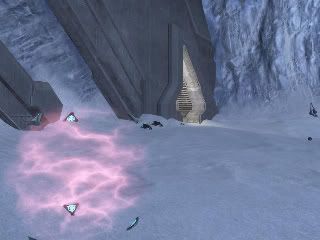
TIP #5: KNOW THY SNIPER SPAWN
The Sniper Rifle spawns right outside the “middle” divide between both bases. Look for them at the oppisite location of the overshields here:

and here:
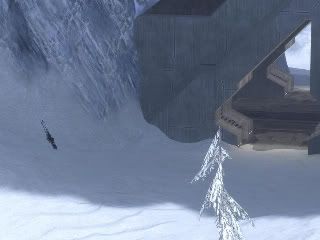
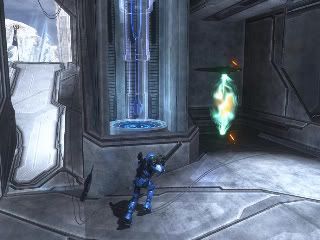
TIP #6 CAN YOU SEE ME NOW? GOOD.
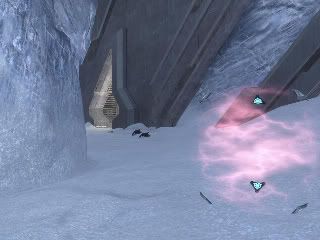
Your Active Camo (the thingy that turns you inivisible) spawns behind this icicle a stone’s throw away from your base’s Man Cannon. In this map, not being seen will be important. Why? There will be vehicles on a rampage during any Slayer match, that will hunt you down on your way to infiltrating any enemy base and taking them out from the ground up. If they can’t see you, your mission will go as planned. Here are the two respective Active Camo spawns.
a) By the rock, oppistie of your spawn point.
b) Just under the tree in in the towards the oppisite side of your spwan point.

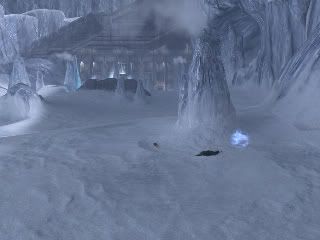
TIP #7 USE PROTECTION
With the amount of power weapons and vehicles wreaking havoc during any Slayer match on Avalanche, your best chance of staying alive (other than not being seen) is having twice the amount of shield than everyone else on the field. Here is where to get that kind of protection (it’ll make you “feel” less):
The Overshields spawn right across from where the Sniper Rifle does – right outside the middle divide between each base.
a) This overshield is up the hill, towards the middle of map. This one should be on your left red team.
b) Again, up the hill, towards the middle up the map. This one should be on your right blue team.
Aside from that, the most obvious tips for this map are:
1. Get down below and share a vehicle with a team mate. They are right below where you spawn at the base of your…base
2. Don’t run around without protection or cover. There are too many vehicles for that.
3. Make sure you use the teleports to your advantage
Have fun in the biggest and most extreme map in the Legendary pack. Don’t get killed.
GHOST TOWN
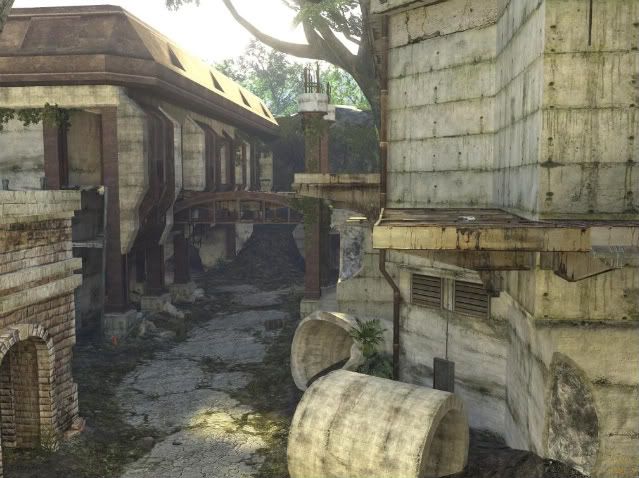
This time, we are given a jungle on the GROUND, not in the AIR. Ghost Town is an abandoned water station where just about everything except barrels of water is destroyed. I guess maybe the Brutes had plans for export? Not only is this map asymmetrical, but it also features a safe zone, you know, so you and I can spawn safely…unlike CoD 4. Moving right along…
Ghost Town may be the least favorite map among the masses (as asserted with the amount of times it’s been called “gay” during pre-game lobby talks), but it’s certainly not a bad map. At the start of any game on this map, it’s important to grab a weapon that will do damage at a medium-range, such as: a Battle Rifle, Needler, or Brute Shots.
A) A Needler can be found above the Mongoose at Blue base.
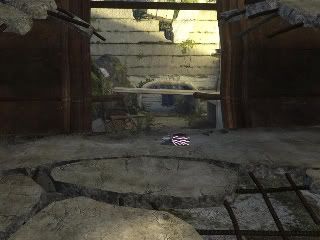
B) A battle rifle can be found in the same base as the Needler, just a little behind you to the right.
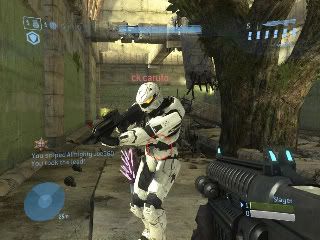
Tip #8: You can teach a few puppies old tricks…..
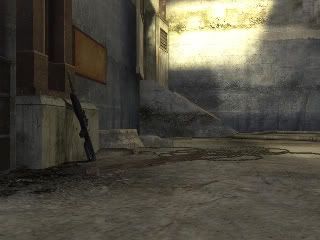
When protecting something like a flag, base, or a VIP, you might want to carry the “Shotty Sniper” combo (Screenshots of spawn points for both the shotgun and sniper rifle. , that way you can kill baddies from afar,
and if they step into your personal space….
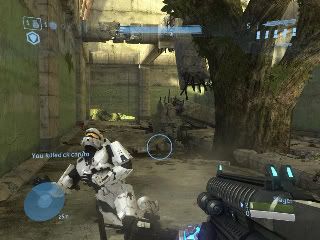
“oH noes!!11”
BAM!!!
Tip #9 FLIP THAT THANG
Say someone steals your flag and an expert Mongoose driver makes it through the map, and is about to pick his friend up,

A Brute Shot isn’t necessarily powerful enough to kill someone right away, but if you aim towards the tires of a Mongoose, you’ll have a very good chance of flipping it,
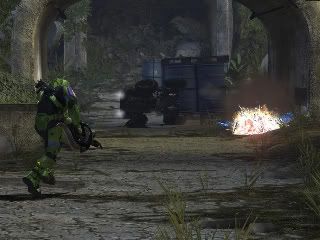
and killing those who tried to escape…
1. Ghost Town can be enjoyable, with the right weapons. If you’re constantly running into someone who has a superior weapon, you may want to rethink your strategy and weapon choice before going into battle.
2. Crouching can play a big role on smaller maps such as this one.
3. Equipment can change the course of the battle.
Now get off your ass, go to wherever your XBox360 is and get back on your ass and get that ass in these new maps. We’ll see you next week for the beginning of our Weapons series here on Teabag Prevention.
To send questions, comments, or advice inquiries to Teabag Prevention, please email us at TeabagPrevention@gmail.com.
This week’s Teabag written by:
